Showing posts with label chocolate. Show all posts

Monday, April 8, 2013

chocolate tanker brownies


A friend recently gifted me with a 1 pound solid hunk of chocolate. It was not a massive chocolate bar or post-Easter chocolate bunny, but rather a monster hunk of chocolate from a chocolate tanker truck. Yes, it turns out that those enormous tanker trucks sometimes seen on freeways not only carry milk and other liquids, but also occasionally pure milk chocolate (!) As the story was related to me, when this chocolate tanker truck made it's delivery and pumped out all the goods, the tanker remnants were up for grabs. The driver, a friend of my friend, hauled them out. My friend ended up with some 5 plus pounds of it and bequeathed me a portion.


I am delighted by this story for many reasons. Beyond the sheer willy-wonka quality of it (chocolate being pumped out of a truck!) is this idea of a resource being shared. Being raised in a small subsistence community in southeast Alaska, a regular part of life was gathering and sharing goods (salmon, berries, etc.). I like to think of my hunk of chocolate in a similar (big city) way and am so pleased that it found it's way to me.

It is a wonderful problem to have too much chocolate. For a couple of cool late winter evenings, I whipped up mugs of decadent hot chocolate. This still left the large majority of chocolate and I decided the perfect home for it was in Ina Garten's outrageous brownies.

As I get older, I learn that almost all of what my mother said to me growing up is completely true. The one glaring exception to this is her advice on brownies. My mother (a former home economics teacher, skilled baker and all-around resourceful person) advised me that making brownies from scratch was not worth it. She said that all baked goods are best when homemade, with the glaring exception of brownies. As a result, for years, I made box mix brownies. (To be clear, I did dress them up by studding with gorgeous hazelnuts, but yes, I confess to box mix brownies.)

My big sister was the first one to shatter this falsehood. On one of our rambling weekend phone calls she shared she had made Ina's outrageous brownies and they were, in fact, outrageously good. I countered with 'but Mom says it's not worth making your own brownies' and my sister assured me these were worth it.

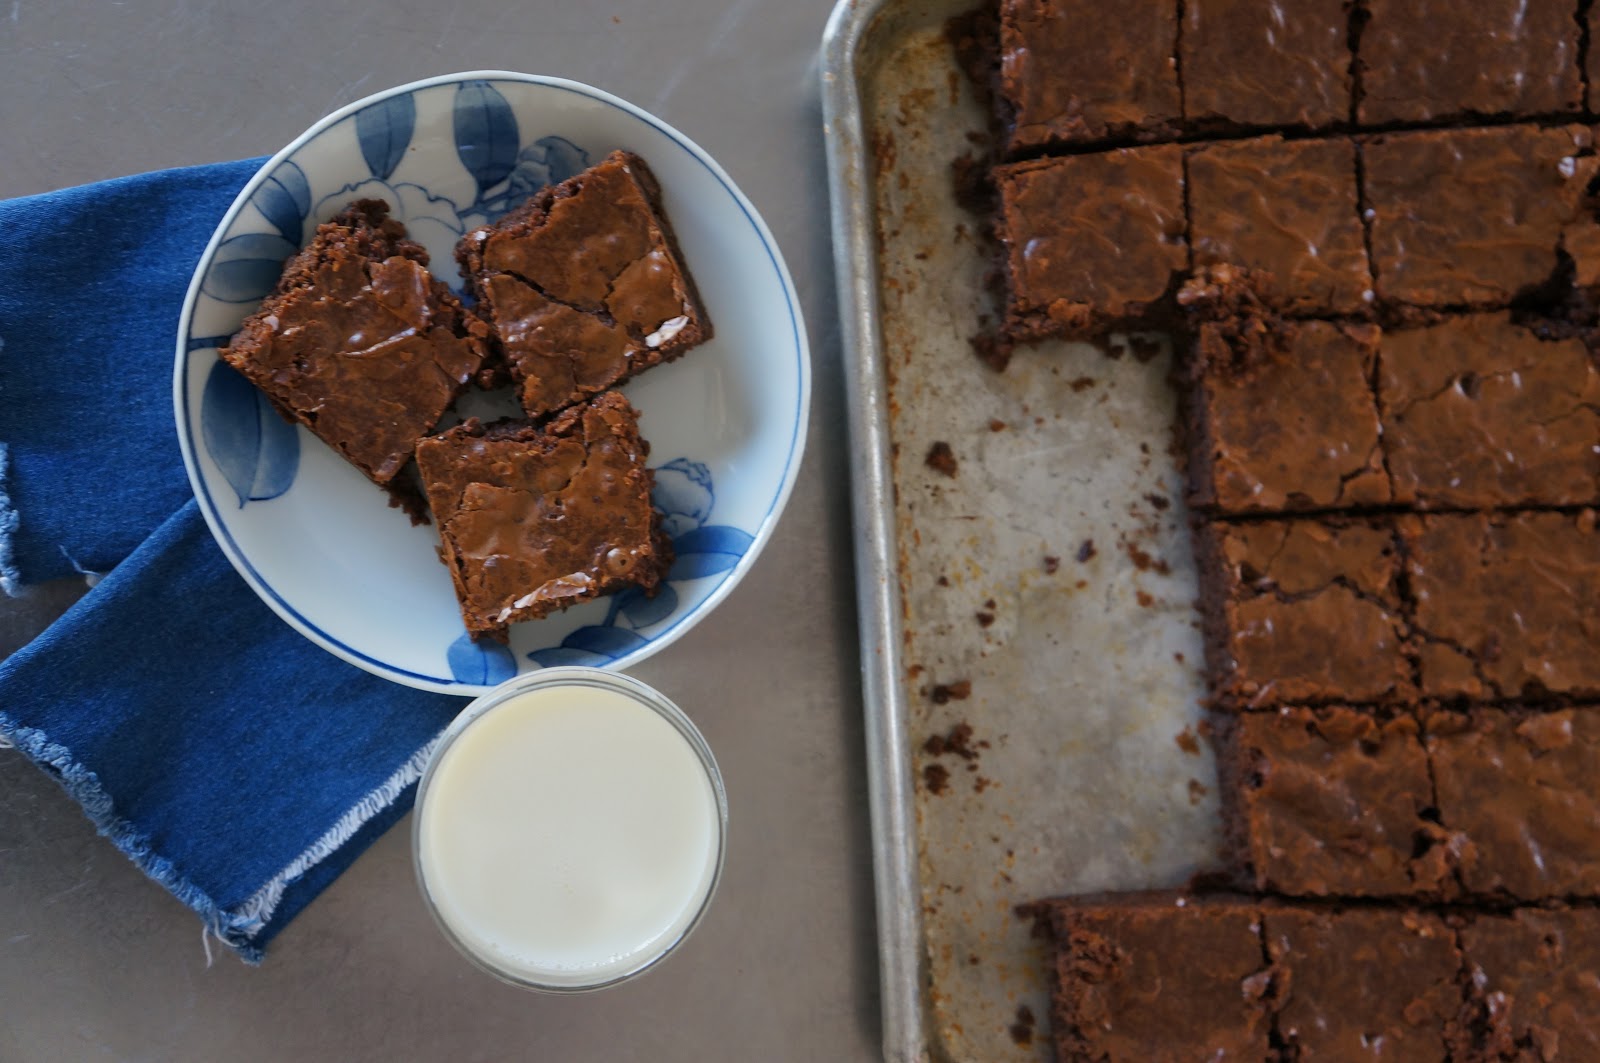
So, I made the outrageous brownies and the spell was broken. The chocolatey depth of them is ridiculous. I think it is owing to the fact that they contain over 2 pounds of chocolate but only 1 1/4 cup of flour. These brownies are not messing around. And a tanker truck full of chocolate is not messing around either and therefore, these two belong together.

chocolate tanker brownies

1 pound unsalted butter
1 pound semisweet chocolate, chopped
12 ounces semisweet chocolate chips
6 ounces unsweetened chocolate, chopped
6 extra-large eggs
3 tablespoons instant coffee granules
2 tablespoons pure vanilla extract
2 1/4 cups sugar
1 1/4 cups all-purpose flour
1 tablespoon baking powder
1 teaspoon salt
3 cups chopped walnuts (optional)

1) Preheat the oven to 350 degrees. Butter and flour a 12x18x1-inch baking sheet.

2) Melt together the butter, 1 pound of chocolate chips, and the unsweetened chocolate in a medium bowl over simmering water. Allow to cool slightly.

3) In a large bowl, stir (do not beat) together the eggs, coffee granules, vanilla, and sugar. Stir the warm chocolate mixture into the egg mixture and allow to cool to room temperature.

4) In a medium bowl, sift together 1 cup of flour, the baking powder, and salt. Add to the cooled chocolate mixture.

5) Toss the walnuts (if using) and 12 ounces of chocolate chips in a medium bowl with 1/4 cup of flour, then add them to the chocolate batter (tossing in flour first helps to keep them from sinking to the bottom of the pan). Pour into the baking sheet.

6) Bake for 20 minutes, then rap the baking sheet against the oven shelf to force the air to escape from between the pan and the brownie dough. Bake for about 15 minutes, until a toothpick comes out clean. Do not overbake! Allow to cool thoroughly, refrigerate, and cut into 20 large squares. (20 squares would be enormous brownies. I get about double that out of this batch.)


Monday, September 14, 2009

north douglas chocolate cake

I first made this cake for my sister's birthday. I think I was like 16. I was pretty busy flirting with my boyfriend (now my husband) and forgot to butter and flour the cake pans. I remember trying to explain this to my mother, minus the flirting detail. To this day, whenever I butter and flour a cake pan, I remember the buzz of young love.
This cake has it's own kind of sugary chocolatey buzz going on. For me, it is the quintessential chocolate layer cake. I'll admit, there's no wow factor in the presentation, but I think that's part of it's charm- it's simplicity. The cake is tender (thank you buttermilk) and as the day wears on it does a nice job soaking up the chocolate frosting.
The recipe is courtesy of The Fiddlehead Cookbook. The Fiddlehead was a restaurant and bakery in Juneau, Alaska. I like to think of it as the Alaskan version of Chez Panisse- celebration of local ingredients and beautiful understated cooking. My understanding is that the cake is named for it's creator, who lived on nearby Douglas island.
When I was getting married, my husband and I registered for their cookbook and I was thrilled when we received it along with this thoughtful inscription from it's givers "To love deeply in one direction makes us more loving in all others- Anne Swetchine".
This cake is certainly something to love and share with those you love. Just be sure to butter and flour the pans.

North Douglas Chocolate Cake

Cake:
1 cup water
1/4 pound butter
1/2 cup safflower or corn oil (I rarely have either and usually substitute vegetable oil)
3 1/2 tablespoons sifted Dutch process dark cocoa (Original recipe note: "other cocoas produce a lighter, sweeter cake and icing, more like milk chocolate". I use Hershey's cocoa powder and it's true that it does make a more milk chocolatey cake.)
2 cups unbleached white flour
2 cups granulated sugar
1 teaspoon baking soda
1/2 teaspoon salt
2 eggs
1/2 buttermilk
1 teaspoon vanilla extract

Icing
1/4 pound plus 4 tablespoons butter
4 cups sifted confectioners' sugar
1/2 cup sifted Dutch process dark cocoa
3 tablespoons milk (not buttermilk this time, just regular milk)
1 1/2 teaspoons vanilla extract

Cake
1) Preheat oven to 375 and arrange racks so they are evenly spaced in oven. Generously coat two 8 or 9 inch cake pans with butter and dust with flour.

2) Combine water, butter, oil, and cocoa in a small pan and bring to a boil.

3) While butter and water are coming to a boil, sift together flour, sugar, baking soda, and salt in a large mixing bowl. Set aside.

4) Wisk together eggs, buttermilk, and vanilla in a small bowl and set aside.

5) When butter and water are boiling, pour over sifted flour (this is very fun). Stir until just combined. (If you have a stand mixer, you might want to let it sit this recipe out- I mix all of this by hand to ensure I don't overbeat it). Add egg mixture and gently fold together. Pour into prepared cake pans.

6) Bake for 20 to 25 minutes (8-inch pans will take a little longer than 9-inch pans). Remove from oven when a probe inserted in center of cake comes out clean. Allow to rest briefly in pans, then turn out onto racks to cool completely.

Icing
7) In a medium bowl (this is where I find a mixer most helpful) beat butter until smooth. Add confectioners' sugar and cocoa and stir gently until they are partially combined (If you crank your mixer up too high right away, you will end up wearing most of the sugar and cocoa). Stir in milk and vanilla. Beat until smooth and spreadable. (It may be necessary to add additional sifted confectioners' sugar if mixture seems too soft).

Assembling the Cake
8) Place first layer, top side down, on bottom of an inverted cake pan. Spread with 3/4 cup icing. Place second layer on top of first, top side down. Spread with 1 cup icing, allowing a little to go over the sides. Using a straight-sided metal spatula (I can assure you a butter knife is just fine) ice the sides of cake, filling crack between layers with icing. Smooth out top of cake and use remaining icing to decorate cake as you like. Chill cake briefly to firm icing.

9) Using a large spatula, transfer cake to a cake plate (unless you are very brave and very clever- I am neither- do yourself a favor and frost the cake on the plate you plan to serve it on. Just tuck pieces of parchment paper under the edges to catch smudges and then whip them out before serving). Serve at once, or cover and store at room temperature.